⚡ Storm or Roof Damage? Get a FREE Estimate
Text ESTIMATE to (844) 907-2546
Or call (800) 792-0212 for 24/7 emergency response
AI-powered • No obligation • Licensed IL & WI
Introduction
When it comes to the structural integrity of a home, the roof is your first line of defense against the elements. However, even the most robust roofing system has its vulnerable points, primarily at roof valleys and penetrations. This blog post aims to provide a comprehensive guide on installing self-sealing membranes in these critical areas, ensuring that your home remains dry, safe, and damage-free.
Scope
The scope of this guide is to provide step-by-step instructions for installing self-sealing bituminous membranes in roof valleys and around direct penetrations such as pipes and vents.
Why Seal Roof Valleys and Penetrations?
Valleys and penetrations are common areas where water intrusion can occur, leading to costly damage over time. By installing a self-sealing membrane, you are adding an extra layer of protection that minimizes the risk of leaks.
Materials Needed
- Self-sealing bituminous peel-and-stick membrane
- Heavy roller
- Roofing felt
- Metal drip edge (optional)
Installation Guidelines
Sealing Roof Valleys
- Preparation: Clean the roof deck sheathing along the valley to remove any loose nails, wires, or debris.
- Measurement: Measure the length of the valley to determine the amount of membrane needed.
- Membrane Installation: Install the self-sealing membrane directly on the sheathing, starting from the lowest point of the valley and working upwards. Overlap sections by at least 6 inches.
- Final Touches: Use a heavy roller to secure the membrane, ensuring it lays flat and adheres properly to the roof deck.
Sealing Direct Penetrations
- Preparation: Clean the area around the penetration.
- Underlayment: Install roofing felt up to the point of penetration.
- Membrane Installation: Cut and install the membrane around the penetration, making sure it tightly seals around pipes or vents.
- Final Touches: Continue installing underlayment and roofing material, integrating them with the membrane.
Sealing Structural Penetrations and Roof-Wall Junctures
- Preparation: Clean the area around the structure.
- Underlayment: Install it up to the vertical wall and secure it in place.
- Step and Kick-Out Flashing: Install these components.
- Membrane Installation: Apply the self-adhesive membrane material directly over the vertical rise of the step flashing and up the side of the penetration.
Key Compliance Standards:
ENERGY STAR Single-Family New Homes, Version 3/3.1 (Rev. 11)
The program specifies the use of self-adhering polymer-modified bituminous membrane in roof valleys and penetrations. Exceptions exist for Dry (B) climates.
DOE Zero Energy Ready Home (Revision 07)
Homes need to be certified under the ENERGY STAR Qualified Homes Program or the ENERGY STAR Multifamily New Construction Program.
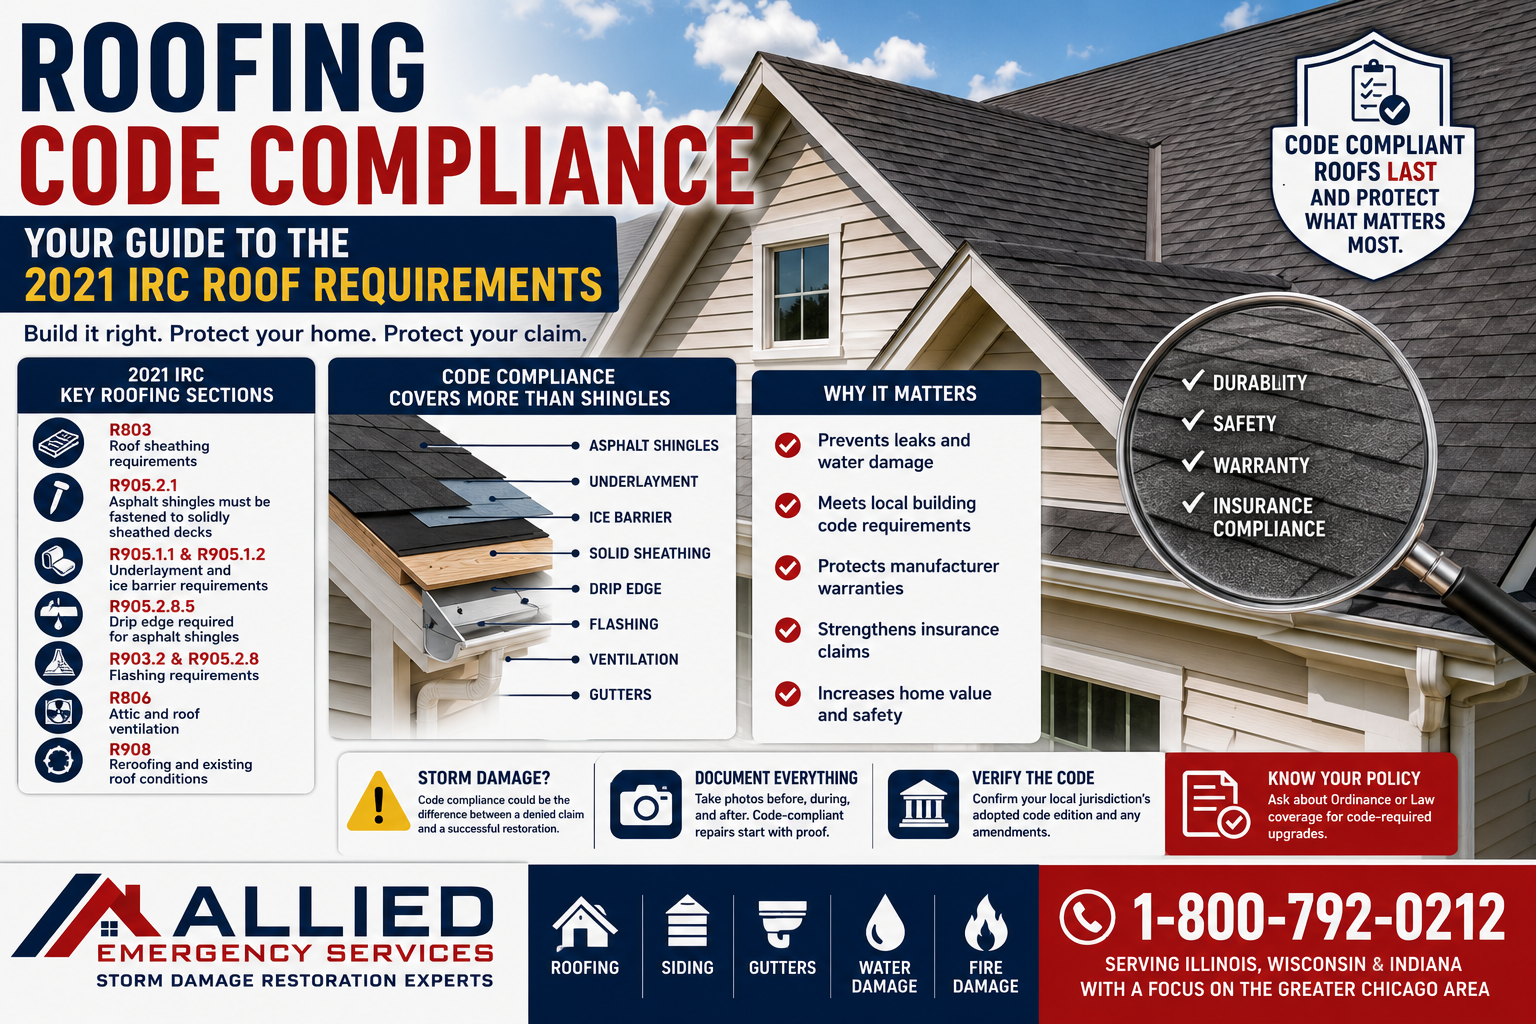
International Residential Code (IRC)
The IRC provides detailed requirements concerning flashing, valley construction, and the use of ice barriers. These guidelines vary based on geographic location and the type of roofing material in use.
Notable Sections:
- R905.3.8: Specifies the material and dimensions for flashing and counterflashing.
- R905.2.8.2: Guidelines for valley lining in asphalt roofs.
- R905.1.2: Ice barrier requirements for areas with a history of ice dams.
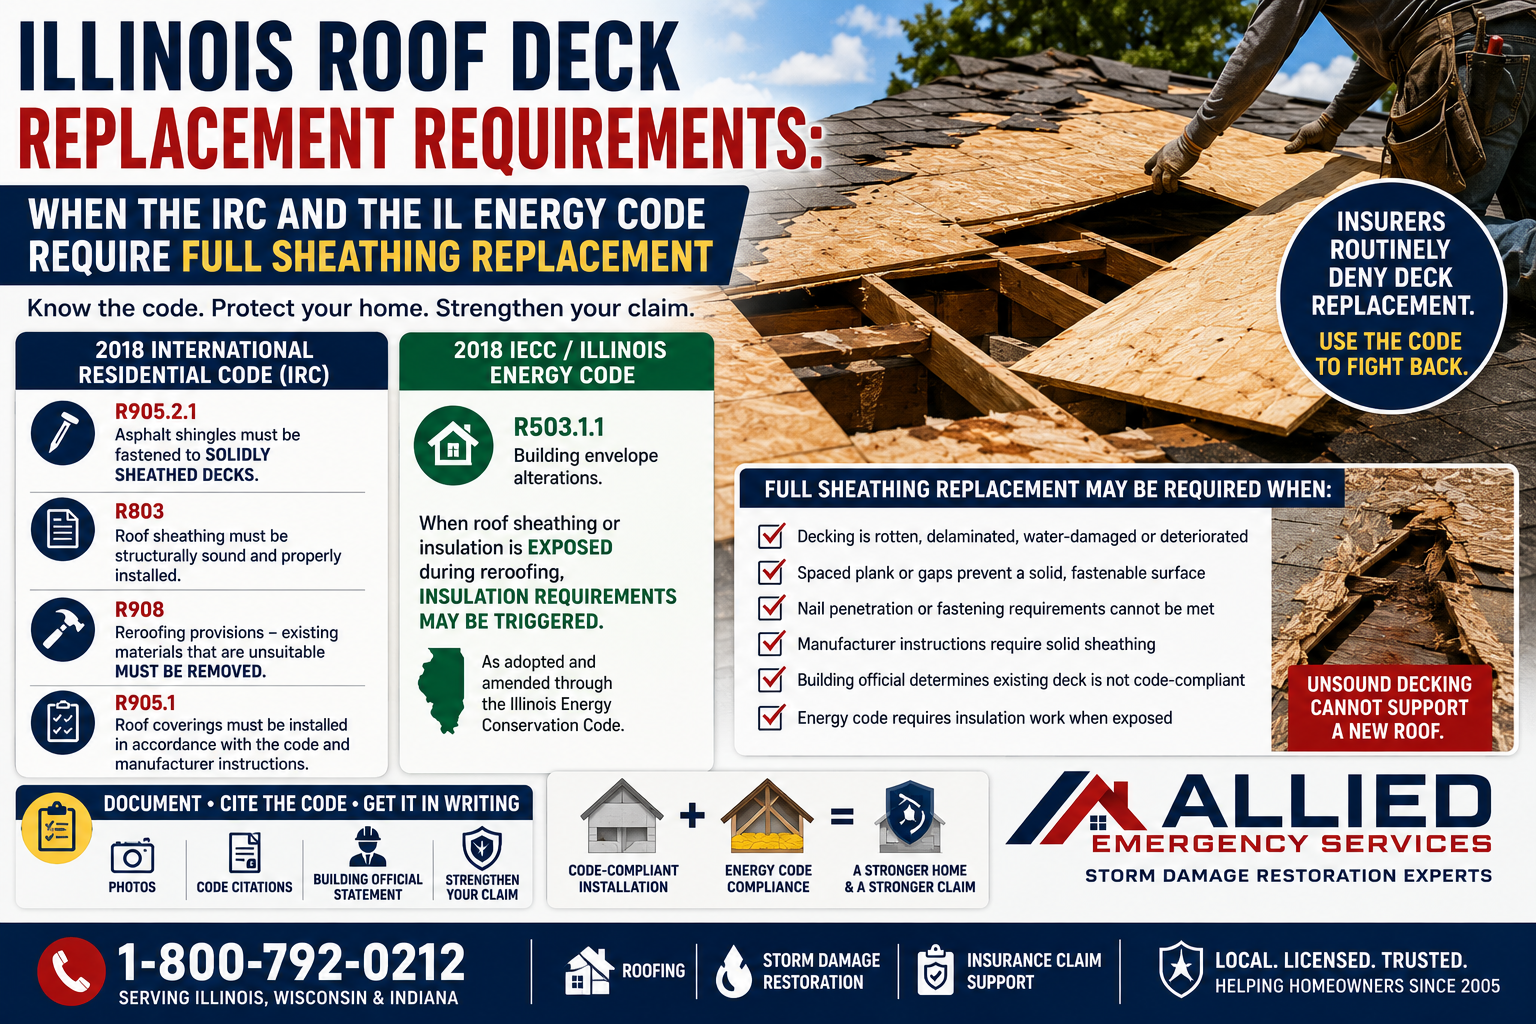
- R905.7.1.1: Requirements for solid sheathing in cold climates.
- R908.3: Specifies conditions under which existing ice barriers can remain during a roof replacement.
- Section R102.7.1 and Appendix J: Guidelines for repairs, alterations, and renovations.
Conclusion
Sealed roof valleys and penetrations are not just a building code requirement; they are a smart, proactive measure to protect your home from water damage. By following this guide, you can ensure that these critical areas of your roof are well-protected.
For more personalized guidance, consult with engineers and local building codes specific to your location. For immediate service or consultation, you may contact us at Allied Emergency Services, INC.
Contact Information:
- Phone: 1-800-792-0212
- Email: Info@AlliedEmergencyServices.com
- Location: Serving Illinois, Wisconsin, and Indiana with a focus on the greater Chicago area.
If you require immediate assistance or have specific questions, our human support is readily available to help you.
Disclaimer: This article is intended for informational purposes only. For professional advice, consult experts in the field
⚡ Need Storm Damage Help? We Serve 155+ Cities
Allied Emergency Services provides 24/7 emergency restoration across Illinois, Wisconsin, Indiana, and Michigan. Text ESTIMATE to (844) 907-2546 for a free estimate in minutes.
Top service areas: Chicago • Naperville • Aurora • Kankakee • Joliet • Rockford • Schaumburg • Milwaukee • Madison • We’re Hiring!
⚡ Storm or Roof Damage? Get a FREE Estimate
Text ESTIMATE to (844) 907-2546
Or call (800) 792-0212 for 24/7 emergency response
AI-powered • No obligation • Licensed IL & WI
Need insurance claims help?
Allied Emergency Services — Licensed IL & WI Insurance Claims Specialists
For 27 years, Allied has been managing insurance claims across Illinois and Wisconsin. IICRC-certified, EPA Lead-Safe, IL Licensed Roofing Contractor #104.019029. 24/7 emergency response.
Learn about our Insurance Claims service →Free property assessment within 24 hours · No obligation · Insurance claim support