⚡ Storm or Roof Damage? Get a FREE Estimate
Text ESTIMATE to (844) 907-2546
Or call (800) 792-0212 for 24/7 emergency response
AI-powered • No obligation • Licensed IL & WI
Introduction
When the time comes to replace your roof, consider it an opportunity to enhance the overall performance of your home. This blog explores how to retrofit an existing sloped roof by adding exterior rigid insulation over the roof deck during the re-roofing process. This approach not only provides a moisture control layer but also improves thermal performance and can condition your attic space.
Unvented, Conditioned Attics: Retrofit Assembly Suitability
The retrofit assembly described in this guide is specifically tailored for homes that either already have unvented, conditioned attics or aim to transform their existing attics into unvented, conditioned spaces. Here’s why this retrofit assembly is appropriate for such configurations:
Advantages
- Energy Efficiency: The unvented, conditioned attic is part of the home’s thermal envelope, which means it benefits from the home’s HVAC system, resulting in better energy efficiency.
- Moisture Control: This assembly helps in eliminating moisture-related issues often associated with vented attics, providing a drier and more stable environment.
- Improved Air Quality: By sealing the attic, you reduce the entry of outdoor pollutants and allergens, thus improving the indoor air quality.
- Code Compliance: This retrofit assembly is designed to meet or exceed current building and energy codes, ensuring that your home is both safe and efficient.
Important Considerations
- Insulation: Ensure that the insulation levels meet or exceed those specified in the latest IECC or local codes.
- Air Sealing: Special attention must be given to air sealing to prevent any air leakage that could compromise the conditioned space.
- Mechanical Systems: Ensure that any mechanical systems in the attic are properly sealed and insulated to avoid energy loss.
- Compliance: Strict adherence to all local and national codes is essential. Consult the Compliance section for further details.
- Hazardous Material: Before starting the retrofit, ensure that the attic is free from hazardous materials like asbestos or lead. Engage professional services for remediation if needed.
Key Steps for Retrofitting
Pre-Insulation Steps
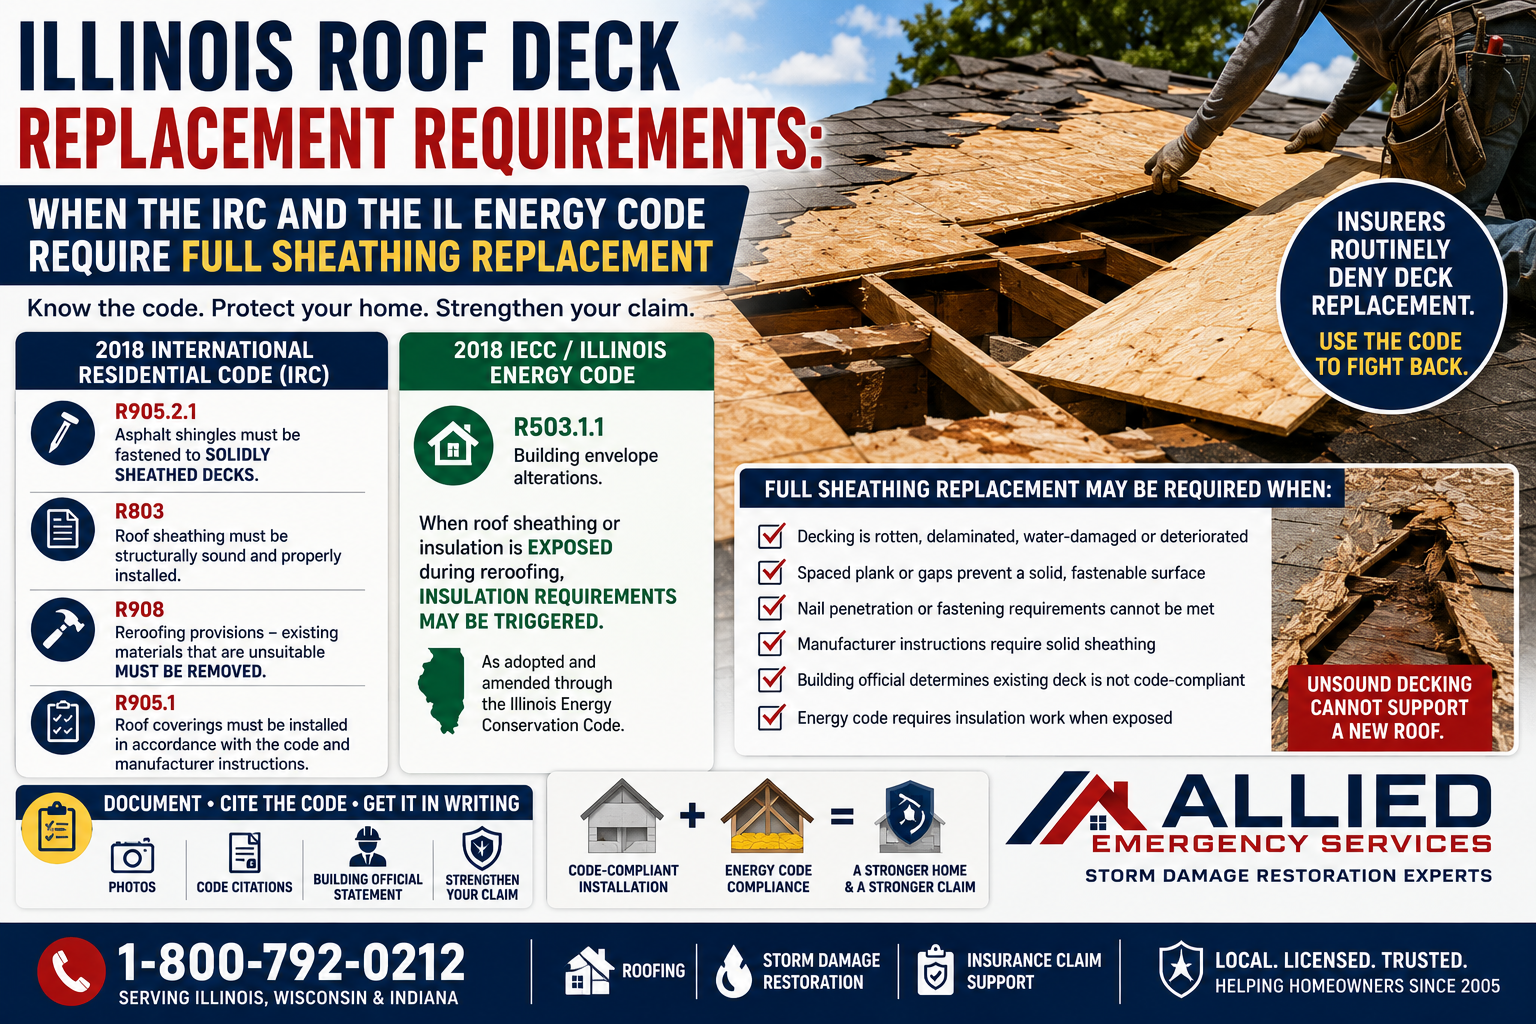
- Inspection and Repair: Remove the existing roofing and non-adhered roof underlayment. Thoroughly inspect for structural issues like rot, insect damage, and deficiencies in the roof framing. Complete all necessary repairs before proceeding.
- Code Review: Revise the roof assembly and detailing based on inspection findings and ensure that they comply with the current adopted building and energy codes.
Exterior Insulation
- Air Control Membrane: Apply a continuous air control membrane to the existing roof sheathing. Alternatively, tape all joints between roof sheathing panels using acrylic or butyl adhesive flashing tape/membrane.
- Mark Framing: Mark the location of framing on the air control membrane for future reference.
- Seal Penetrations: Seal around any roof penetrations through the air control layer. If this layer also acts as a water control layer, ensure that proper flashing is installed.
- Install Rigid Insulation: Install rigid insulation board over the air control layer. Use multiple layers and offset the joints vertically and horizontally between layers.
- If Providing a Vented Over-Roof: Detail the outer layer of insulating sheathing as a drainage plane. Transfer the markings for framing locations through each layer of insulating sheathing.
- Cladding Substrate: Install the substrate for cladding or, alternatively, install purlins and then the cladding substrate.
Interior Insulation
- Underlayment and Flashing: Install roof underlayment and flashing according to best practices. Refer to guides on Step and Kick-Out Flashing at Roof-Wall Intersections and Heavy Membranes at Eaves in Cold Climates for more information.
- Install Cavity Insulation: Use netted fibrous insulation, batt insulation, or spray foam to achieve the desired total assembly R-value. Follow guidelines on Insulation Installation (RESNET Grade 1).
Important Considerations
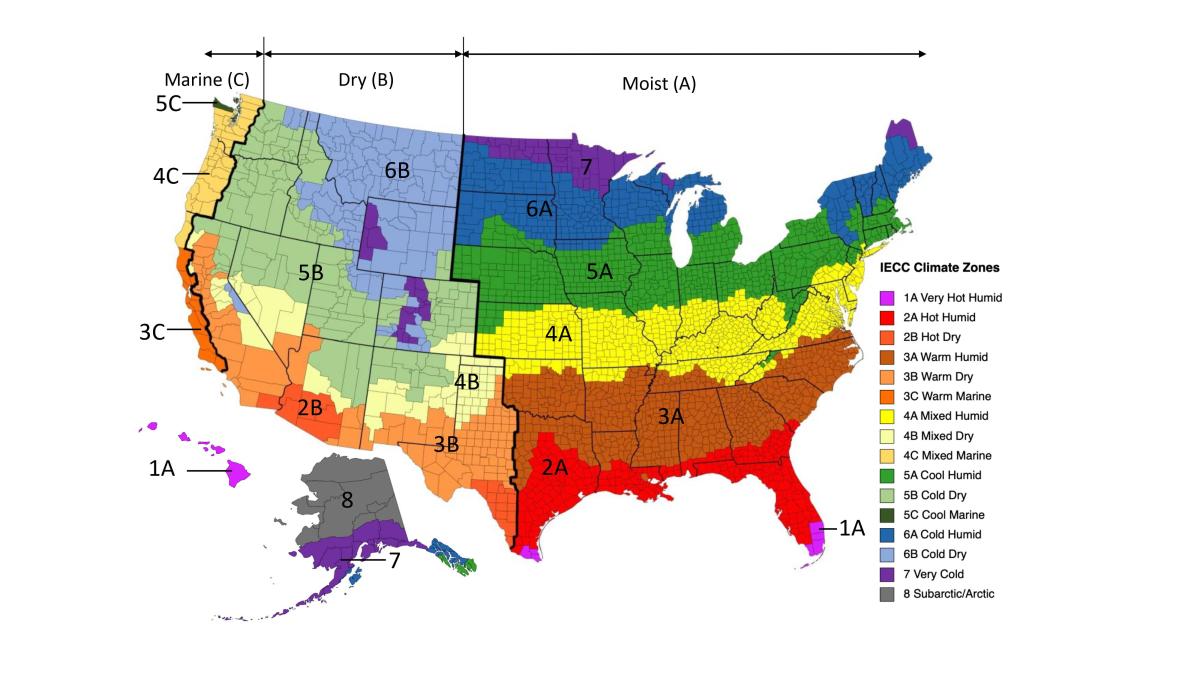
- Climate-Specific Guidance: The R-value of the insulation should be in line with the climate of your location to control condensation risk.
- Compatibility with Future Projects: If wall retrofitting is planned, consider how the roof retrofit will integrate with it.
- Moisture Content: Ensure the roof sheathing and framing are dry before proceeding with cavity insulation.
Options for Establishing an Air Control Layer on Roof Sheathing
When converting your attic into an unvented, conditioned space, it’s crucial to have an effective air control layer on the existing roof sheathing. Here are your options, ranked from good to best:
- Good: Use non-adhered roof underlayment and make it air-tight by taping seams and applying sealant. This is especially applicable if your sheathing is plywood or OSB.
- Better: Choose sheathing with an integrated, self-adhered air and water control membrane. Ensure worker safety and proper seam lapping.
- Best: Install a fully adhered, self-sealing ice and water control membrane. Overlap seams shingle-style for optimum performance.
Cold Climate Note: In cold climates, make sure that the insulation above the roof deck constitutes at least 40% of the total roof assembly’s R-value.
Insulation Tips: Layer insulation in multiple tiers and offset joints to minimize convective looping. Suitable materials include polyisocyanurate, extruded and expanded polystyrene, and semi-rigid mineral fiber boards with sufficient compressive strength.
Compliance Checklist for Roof Retrofitting
For the success of your retrofitting project, strict adherence to various codes and guidelines is non-negotiable. Below is a summary of key compliance areas:
- ENERGY STAR: Meet 2009 IECC insulation and RESNET Grade 1.
- National Rater: Align with 2009 IECC or specific U-factors.
- DOE Zero: ENERGY STAR certification; meet 2015 IECC and RESNET Grade 1.
- IECC/IRC: Comply with applicable codes; refer to insulation tables.
- Water Management: Follow standards for flashing, gutters, downspouts.
- Other IRC/IECC: Adhere to vent, attic, and drainage guidelines.
- Local Codes: Check state/local requirements for higher insulation levels.
Conclusion
Retrofitting your roof during a re-roofing project offers numerous benefits, from improved thermal performance to better moisture control. It’s an investment that pays off by enhancing the durability and efficiency of your home.
For more personalized guidance, consult with engineers and local building codes specific to your location. For immediate service or consultation, you may contact us at Allied Emergency Services, INC.
Contact Information:
- Phone: 1-800-792-0212
- Email: Info@AlliedEmergencyServices.com
- Location: Serving Illinois, Wisconsin, and Indiana with a focus on the greater Chicago area.
If you require immediate assistance or have specific questions, our human support is readily available to help you.
Disclaimer: This article is intended for informational purposes only. For professional advice, consult experts in the field
⚡ Need Storm Damage Help? We Serve 155+ Cities
Allied Emergency Services provides 24/7 emergency restoration across Illinois, Wisconsin, Indiana, and Michigan. Text ESTIMATE to (844) 907-2546 for a free estimate in minutes.
Top service areas: Chicago • Naperville • Aurora • Kankakee • Joliet • Rockford • Schaumburg • Milwaukee • Madison • We’re Hiring!
⚡ Storm or Roof Damage? Get a FREE Estimate
Text ESTIMATE to (844) 907-2546
Or call (800) 792-0212 for 24/7 emergency response
AI-powered • No obligation • Licensed IL & WI
Need insurance restoration help?
Allied Emergency Services — Licensed IL & WI Insurance Restoration Specialists
For 27 years, Allied has been handling insurance restoration across Illinois and Wisconsin. IICRC-certified, EPA Lead-Safe, IL Licensed Roofing Contractor #104.019029. 24/7 emergency response.
Learn about our Insurance Restoration service →Free property assessment within 24 hours · No obligation · Insurance claim support